Loading...

The Stripe Subscription Update and Cancellation flow 1.1 (Generating a customer portal session)
The Stripe Subscription Update and Cancellation flow 1.1 (Generating a customer portal session)
Now that the subscription creation workflow is in place, we can move on to handling subscription updates and cancellations. These flows start from the Customer Portal, which customers can access from the Settings page. This is from this page that customers will be able to either update (upgrade or downgrade) their subscription. We’ll begin by generating a new Customer Portal session whenever a user clicks the “Manage subscription” button, similar to how a Checkout Session is created when subscribing to a plan.

Payments
Learning Highlights
- 0:45
Learn how to implement subscription update and cancellation flows using Stripe's Billing Portal instead of building custom UI from scratch.
- 4:28
Understanding why existing customers need a Billing Portal session, not a checkout session, to modify or cancel their subscriptions without creating duplicate accounts.
- 6:00
How to configure Stripe's Customer Portal settings to enable plan switching and cancellation options that appear automatically in the hosted interface.
- 8:38
Mastering the three-step API integration pattern taught at Vibe Coding Academy: create a dedicated function, build an internal endpoint, and wire up the frontend.
💡
Interactive diagram used in the video
The Subscription Update and Cancellation flow 1.1 (Generating a customer portal session)
Handle updates and cancellations by linking users to Stripe’s Customer Portal from your app.
Prompt Used in Video
Ready to start a new course?
Continue your learning journey with these carefully curated courses
Course
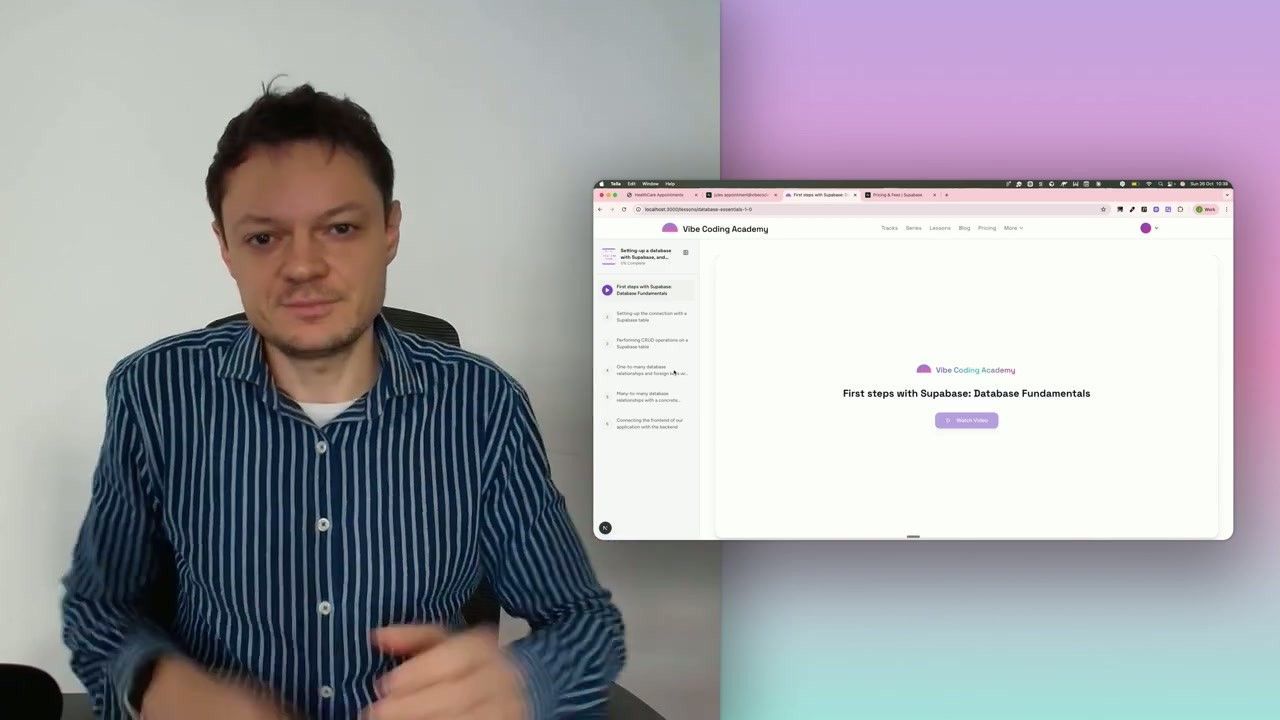
Setting-up a database with Supabase, and building our first CRUD API endpoints
Learn how to connect your application to a Supabase database, then validate the setup by creating your first API endpoints to perform basic CRUD operations (Create, Read, Update, Delete).
6 lessons
0 min

Jules BoiteuxFounder @Vibe Coding Academy
Course
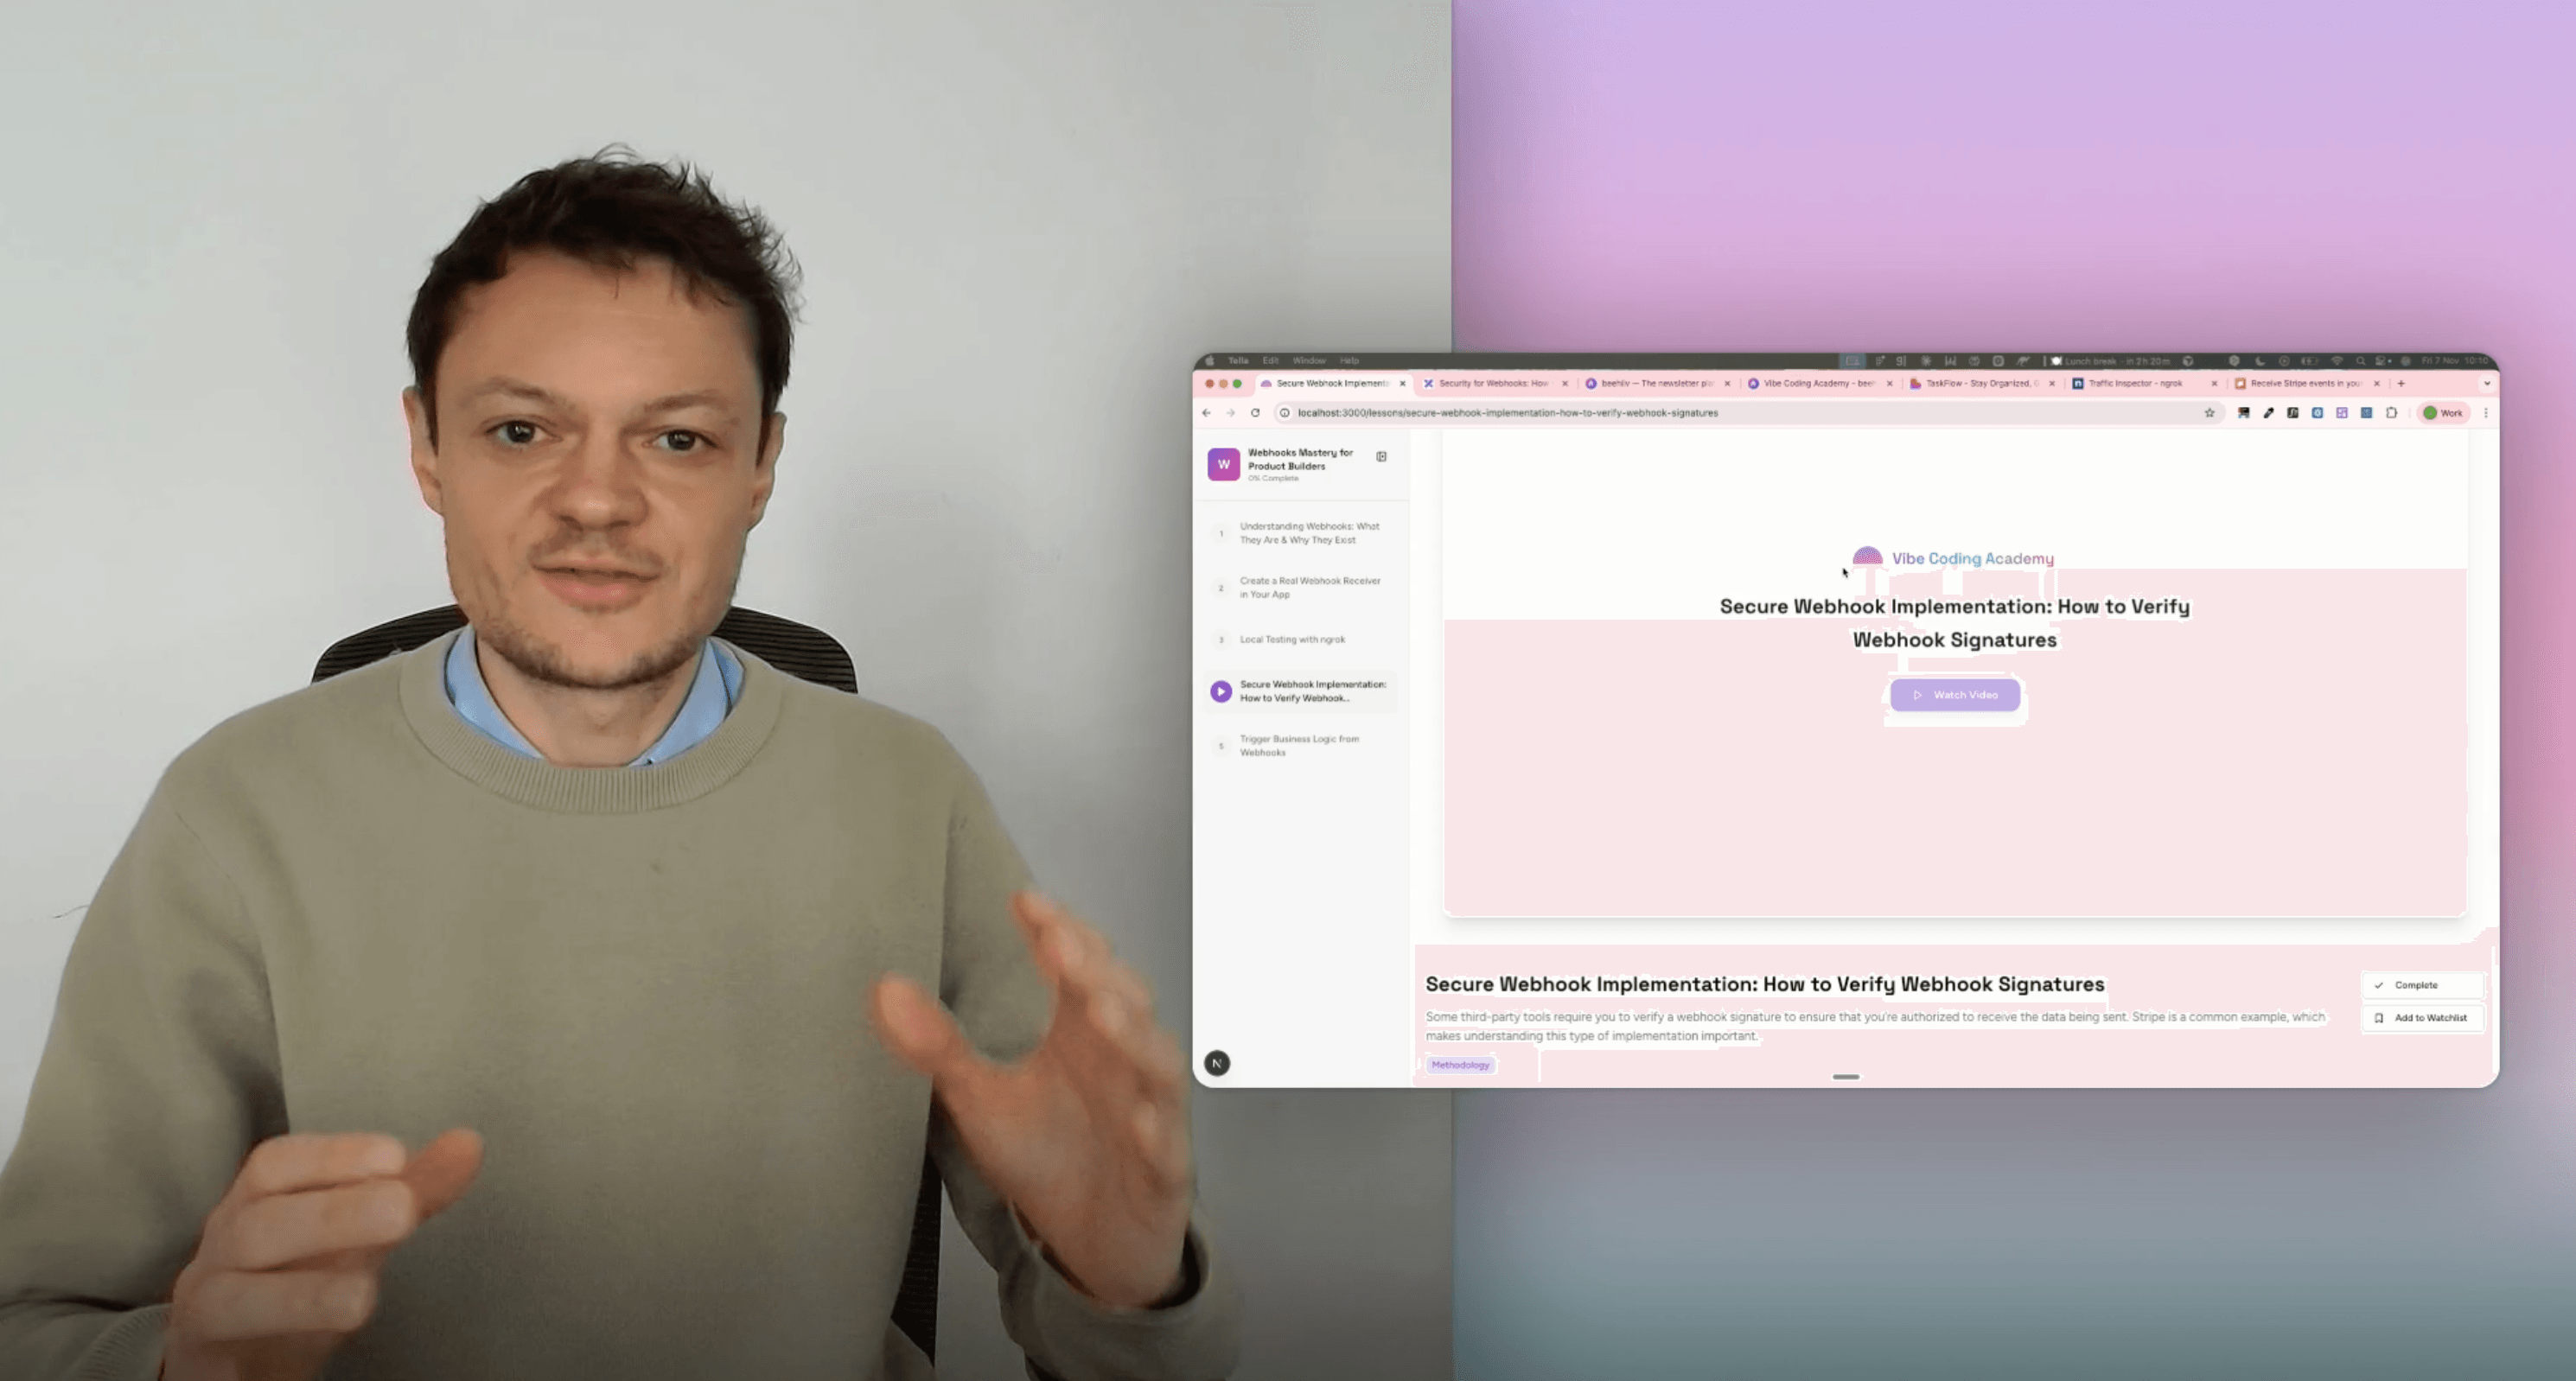
Webhooks Mastery for Product Builders
Many third-party integrations rely on webhooks. Stripe is one of the most important examples, which makes it essential to understand how to implement webhooks correctly in your app and build reliable business logic on top of them.
5 lessons
0 min
Jules BoiteuxFounder @Vibe Coding Academy